
Every year Ryan and I pick out a special ornament or two for our Christmas tree. Typically we find one while on a family trip around the holidays, but this year we hadn’t found one yet. I came to find out one of Ryan’s presents to me was a glass blowing class. One guess on what our project was? If you guessed “ornaments”, you’re good 😏.
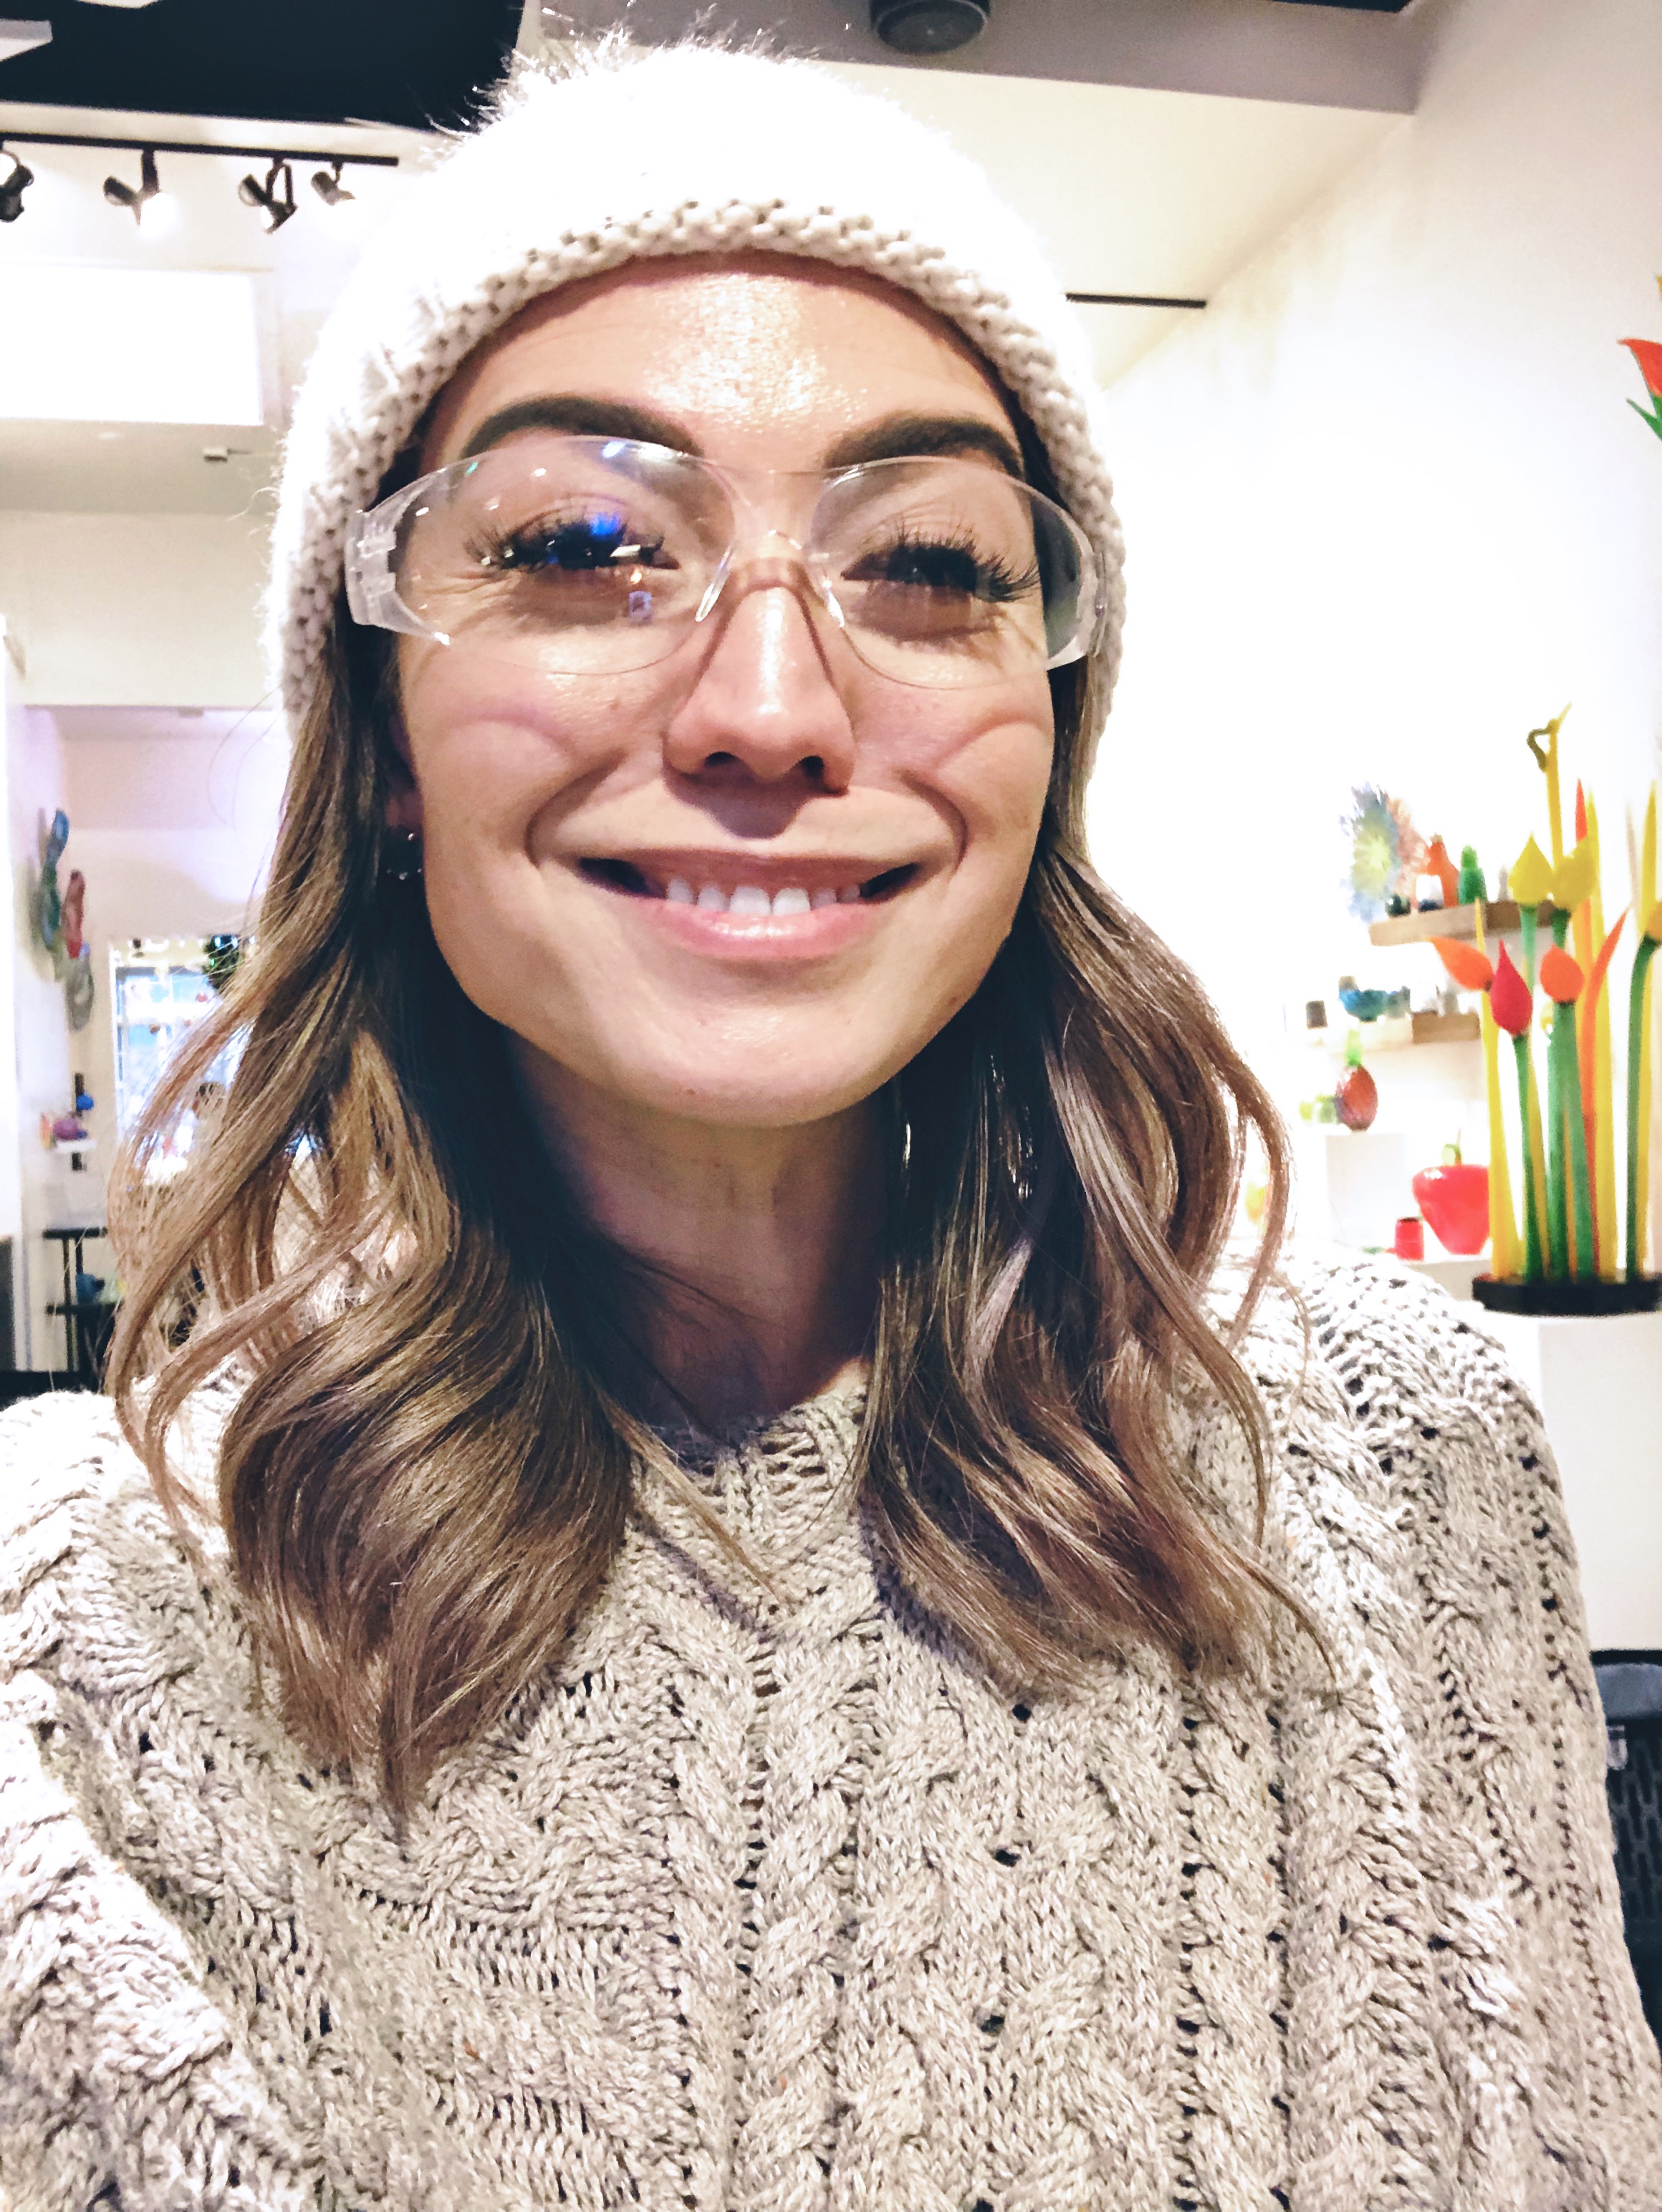
He took me to the Seattle Glassblowing Studio, where they have a showroom filled with jaw-dropping glass artwork. It was definitely inspiring to see what you could create with glass (although I knew my project probably wouldn’t be considered a masterpiece 😜).
Our glass blowing artist talked us through safety, the process we’d follow and then continued to walk us through each step. She was passionate with a dry sense of humor and a perfect fit for us.
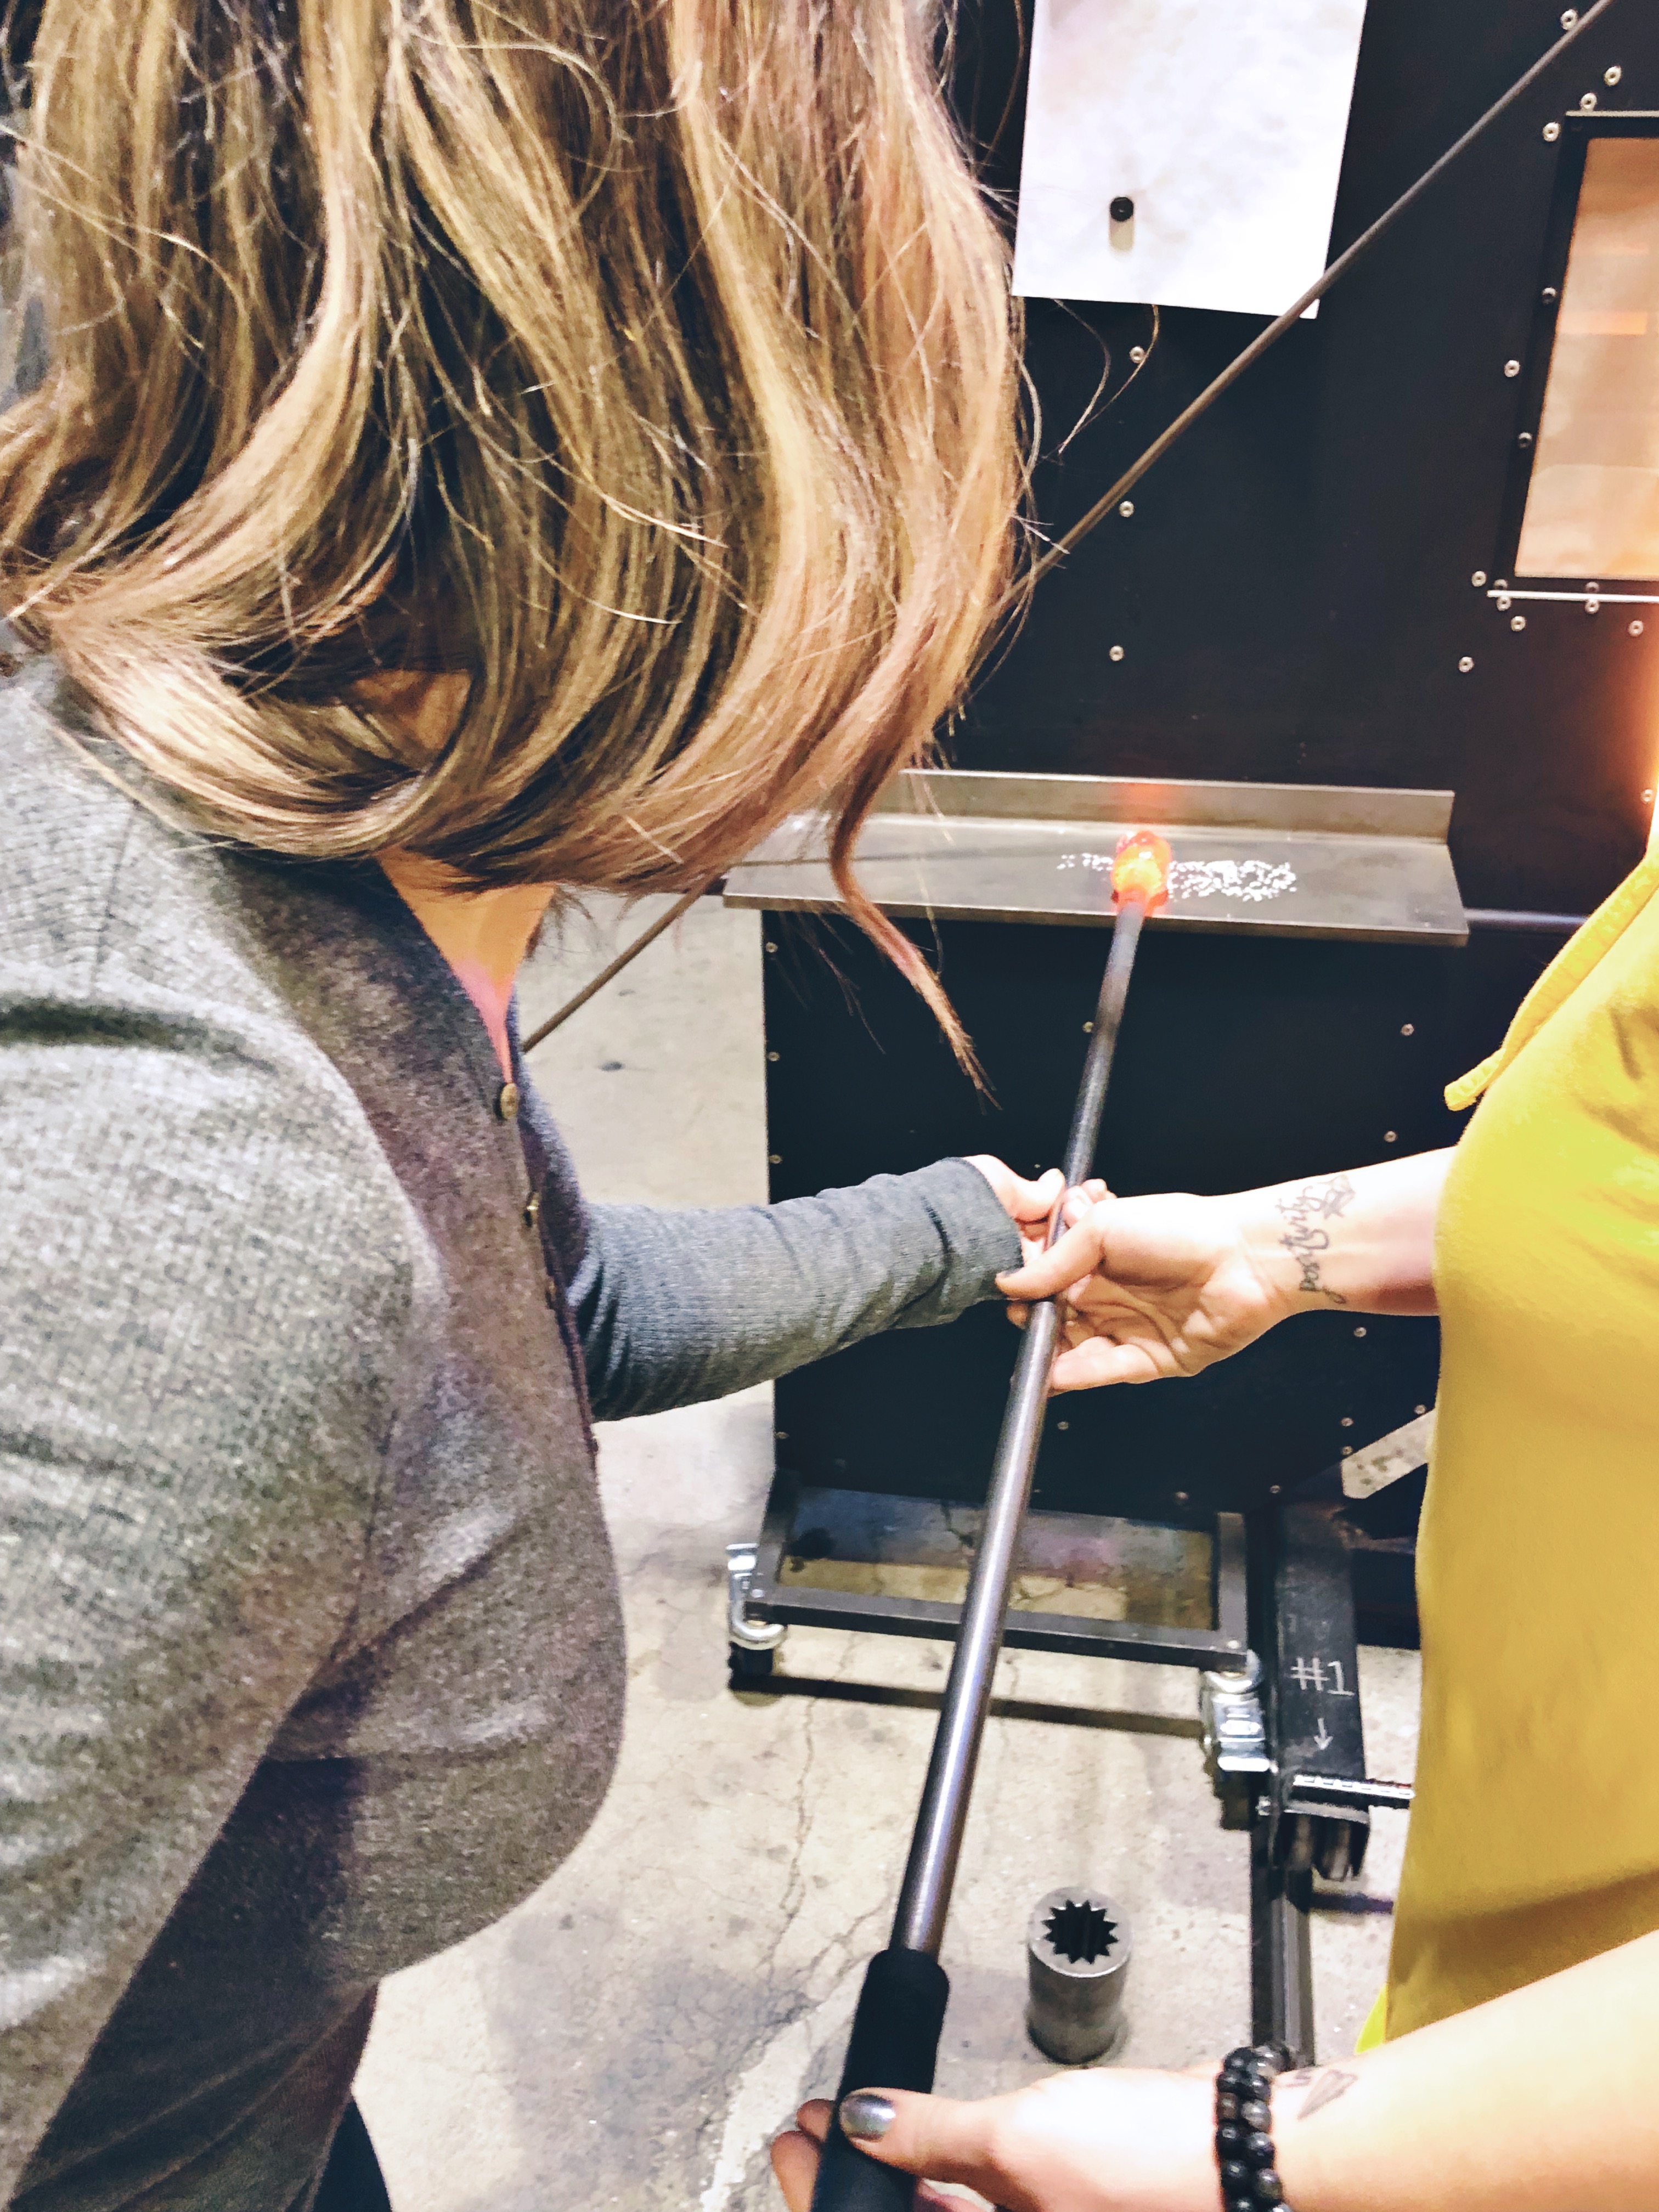
We started off by choosing our glass. There were several colors to choose from, some opaque and other transparent, as well as mixes that resulted in a beautifully speckled project. Ryan and I tried to pick coordinating colors so they’d like nice on the tree together. Then, we created our ornaments, one at a time, with the help of our artist.


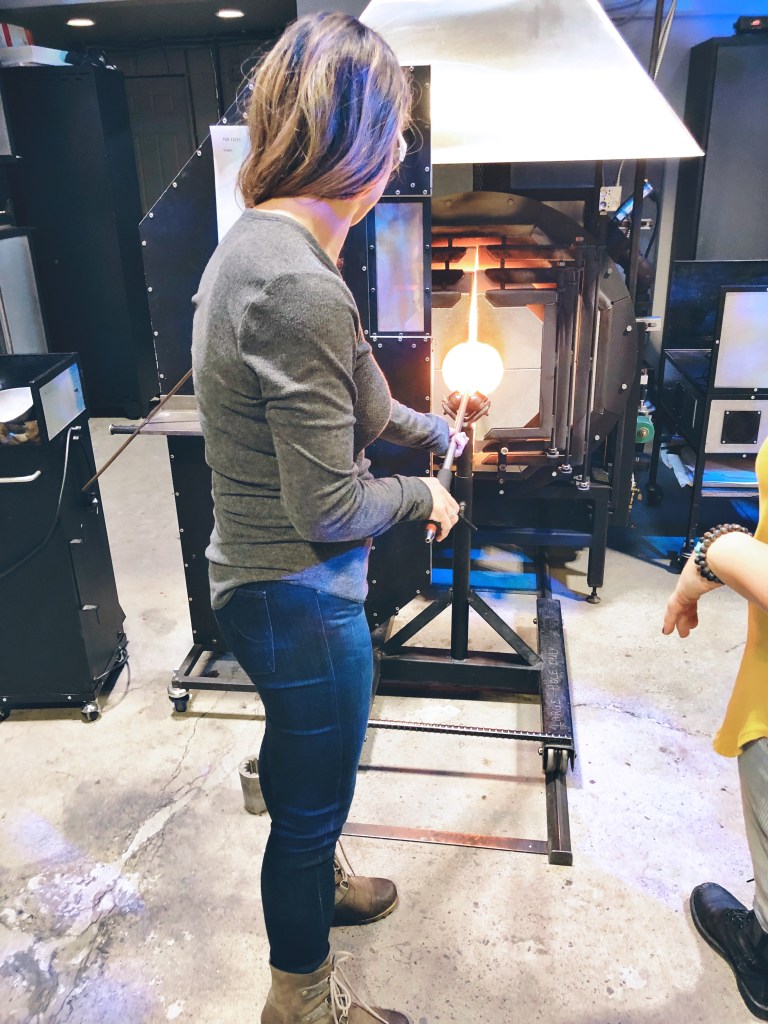
The glass artist took our rods and “grabbed” some molten glass from another oven, exactly what I’d imagine molten lava to look like – only clear, and handed us the rod to start spinning. We inserted it into an insanely hot oven, consistently rotating it to help it re-heat and still keep a balanced shape. From there, we dipped it in our colored glass, continued this process a few times, then it was time to start shaping it.
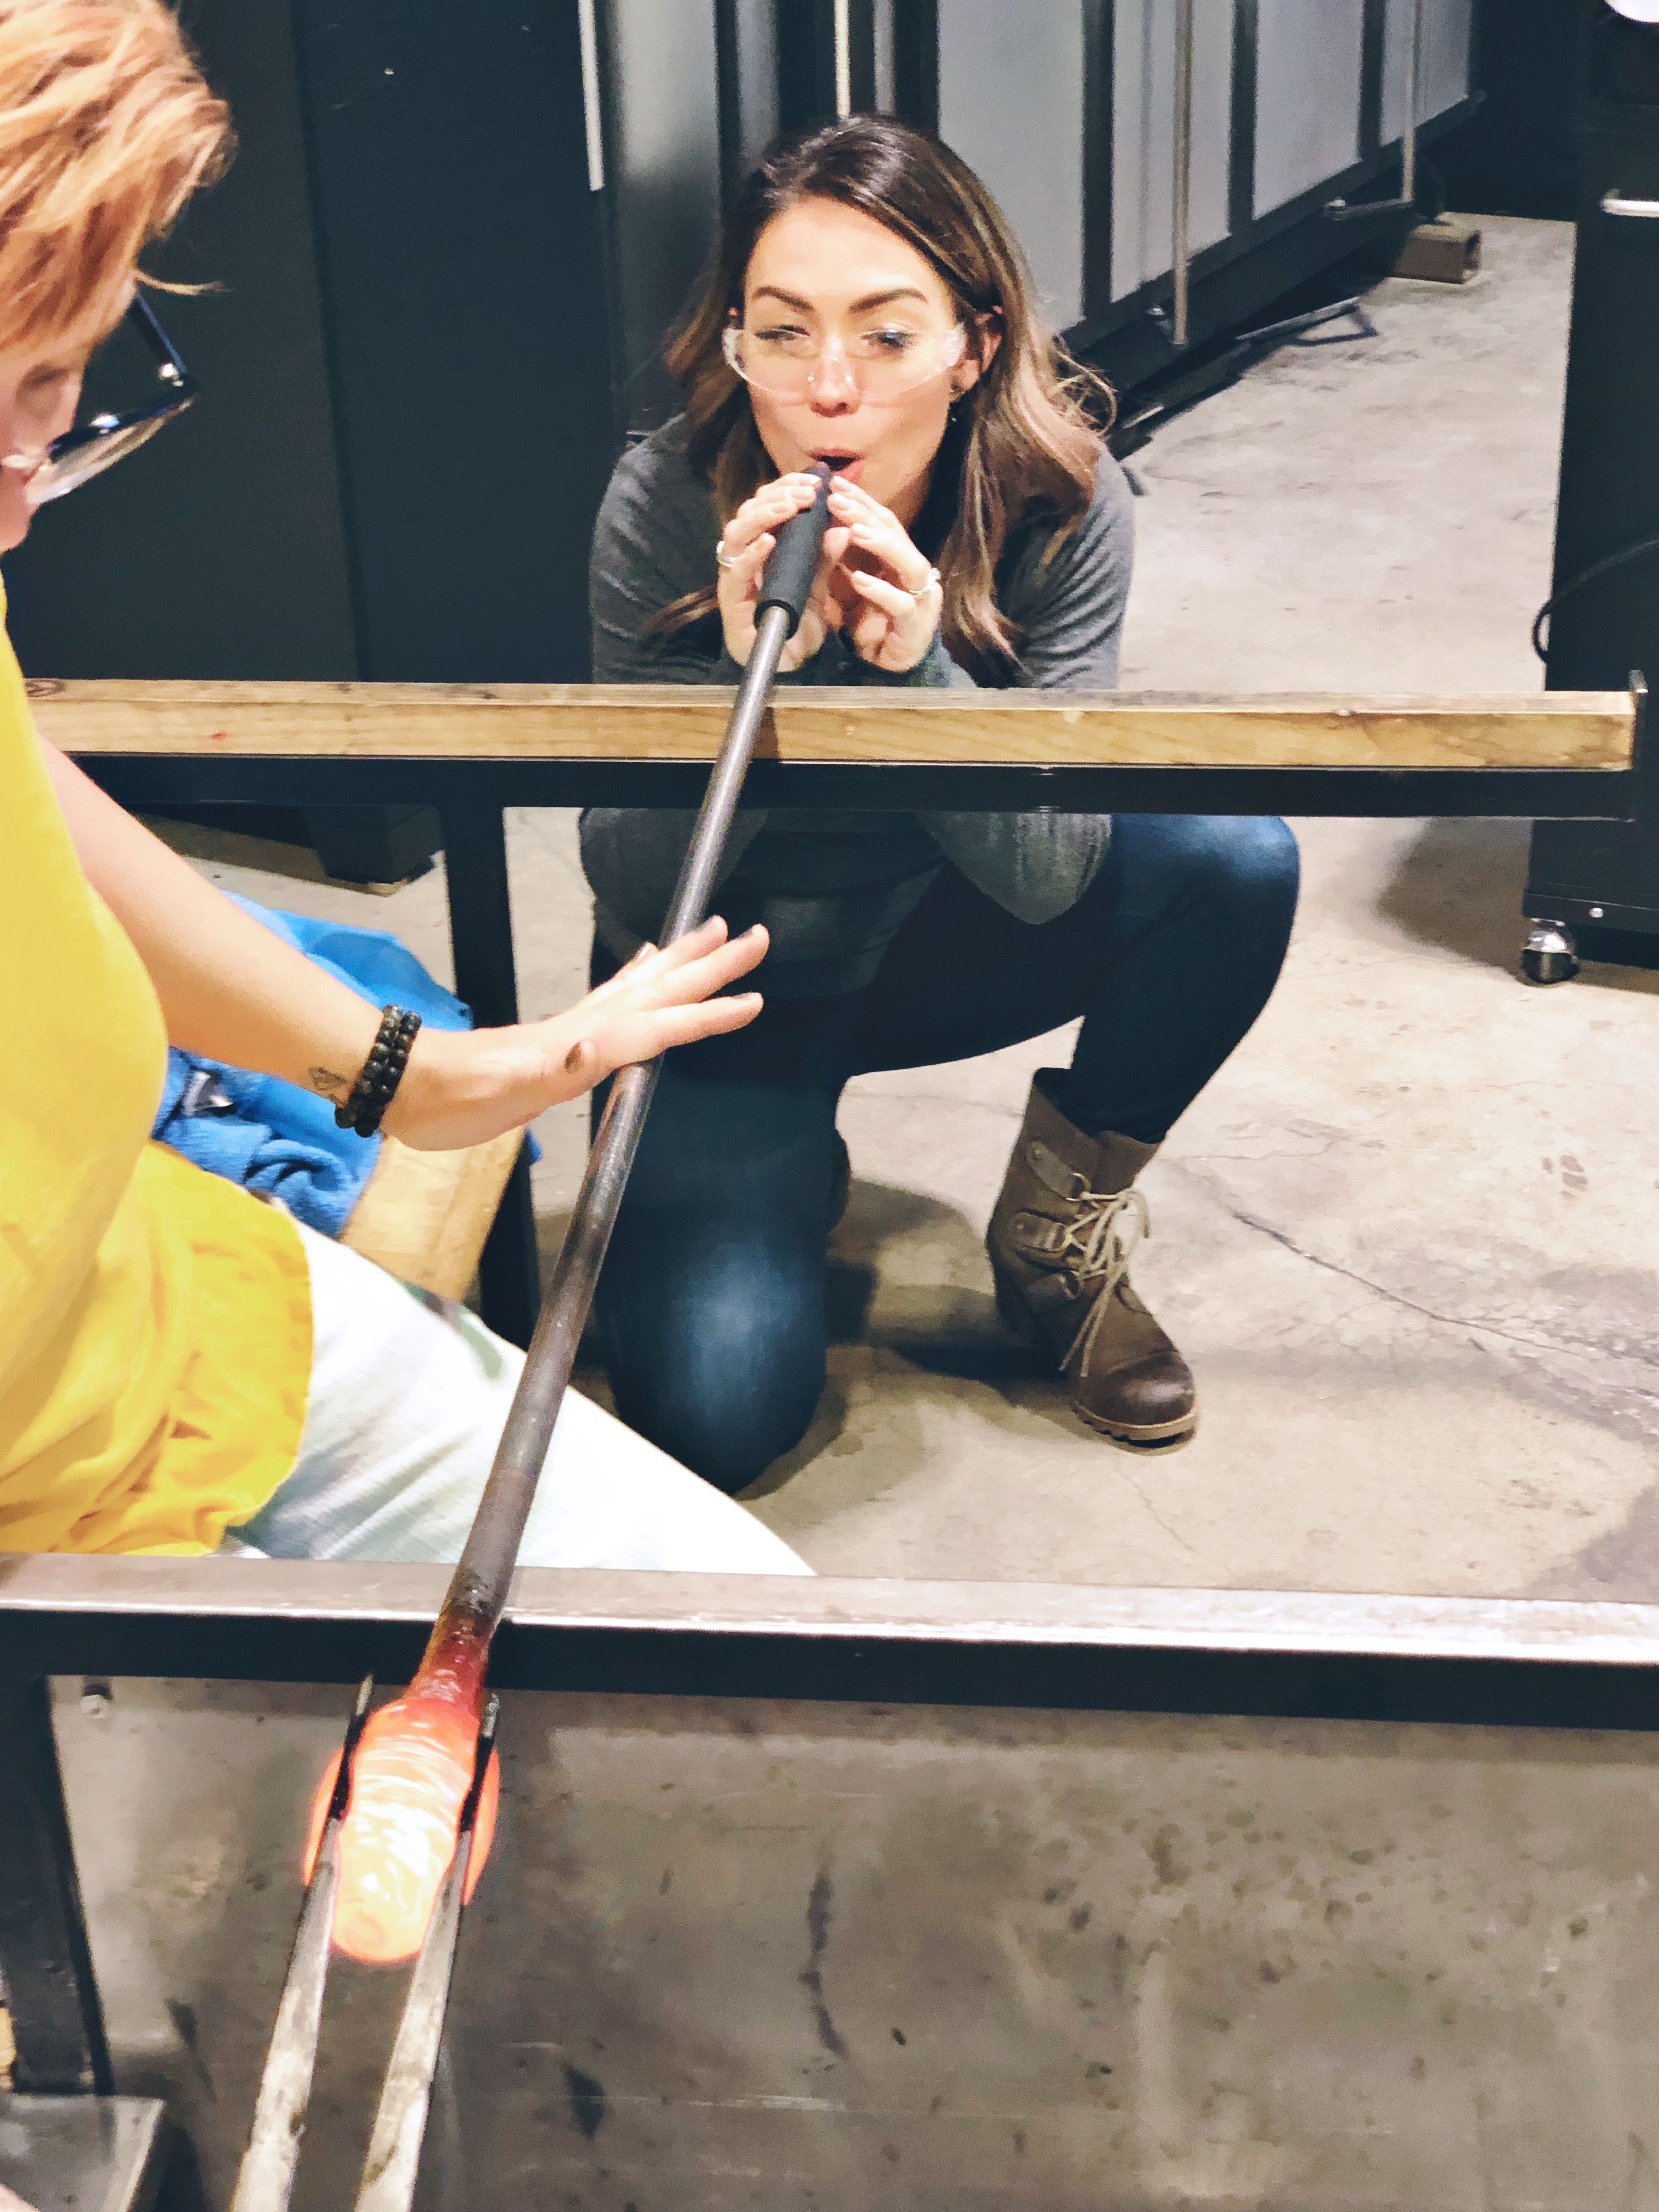
We had some options in terms of swirled color, lines on the outside or the inside, etc. We transitioned to the bench where we worked together to shape our glass using the “block”, a large wooden spoon-shaped tool. Once that was done we switched places with our artist so that she was on the bench continuing to roll the rod and shape the ornament, while we blew the glass through the other end of the rod.
Let me just say this for anyone thinking about doing this as a first date – it’ll be interesting. You have to move along with the rod as she’s rolling it to shape the glass, without obstructing the movement of the rod (you can’t hold it really), while trying to blow as hard as you can while it’s moving. With as clumsy as I can be I’m surprised I didn’t lose a tooth! 😜
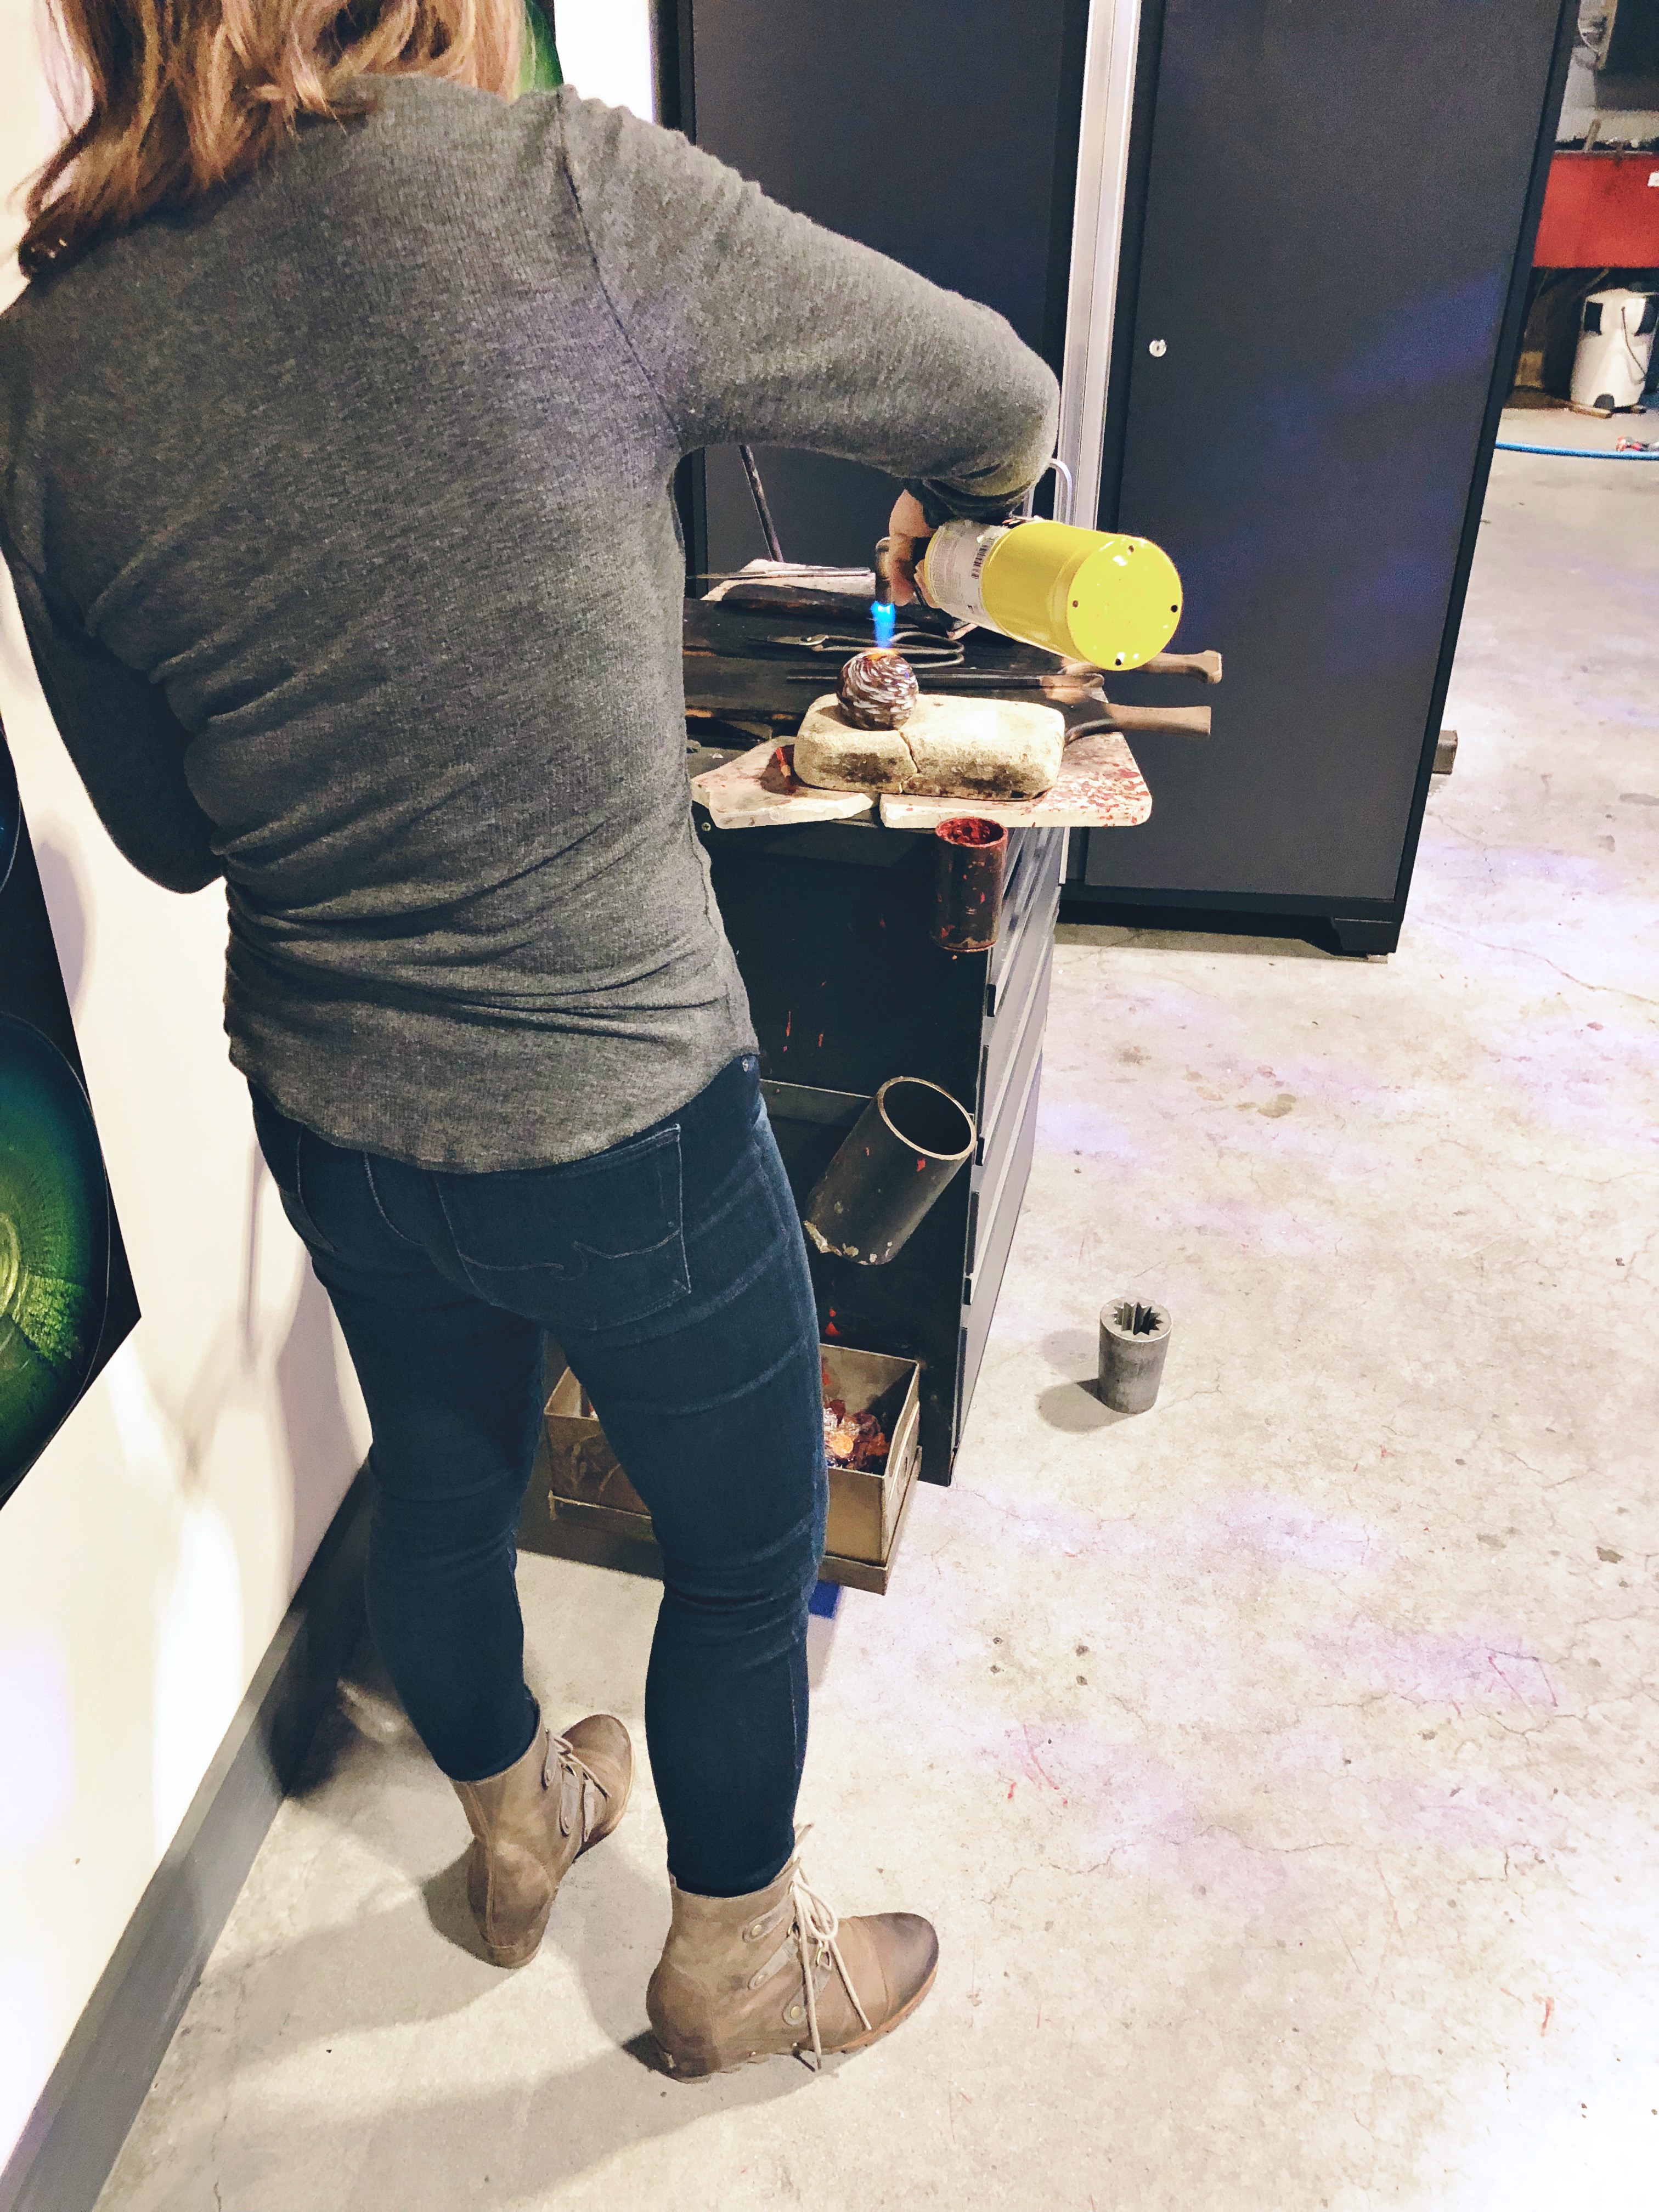
The last bit of the process involves creating the ornament stem loop, where you can put a ribbon to hang it from your tree or a display stand. This is done by blow torching some glass scraps on the top, melting them, then taking heavy duty pliers to shape it into a loop. SO cool.
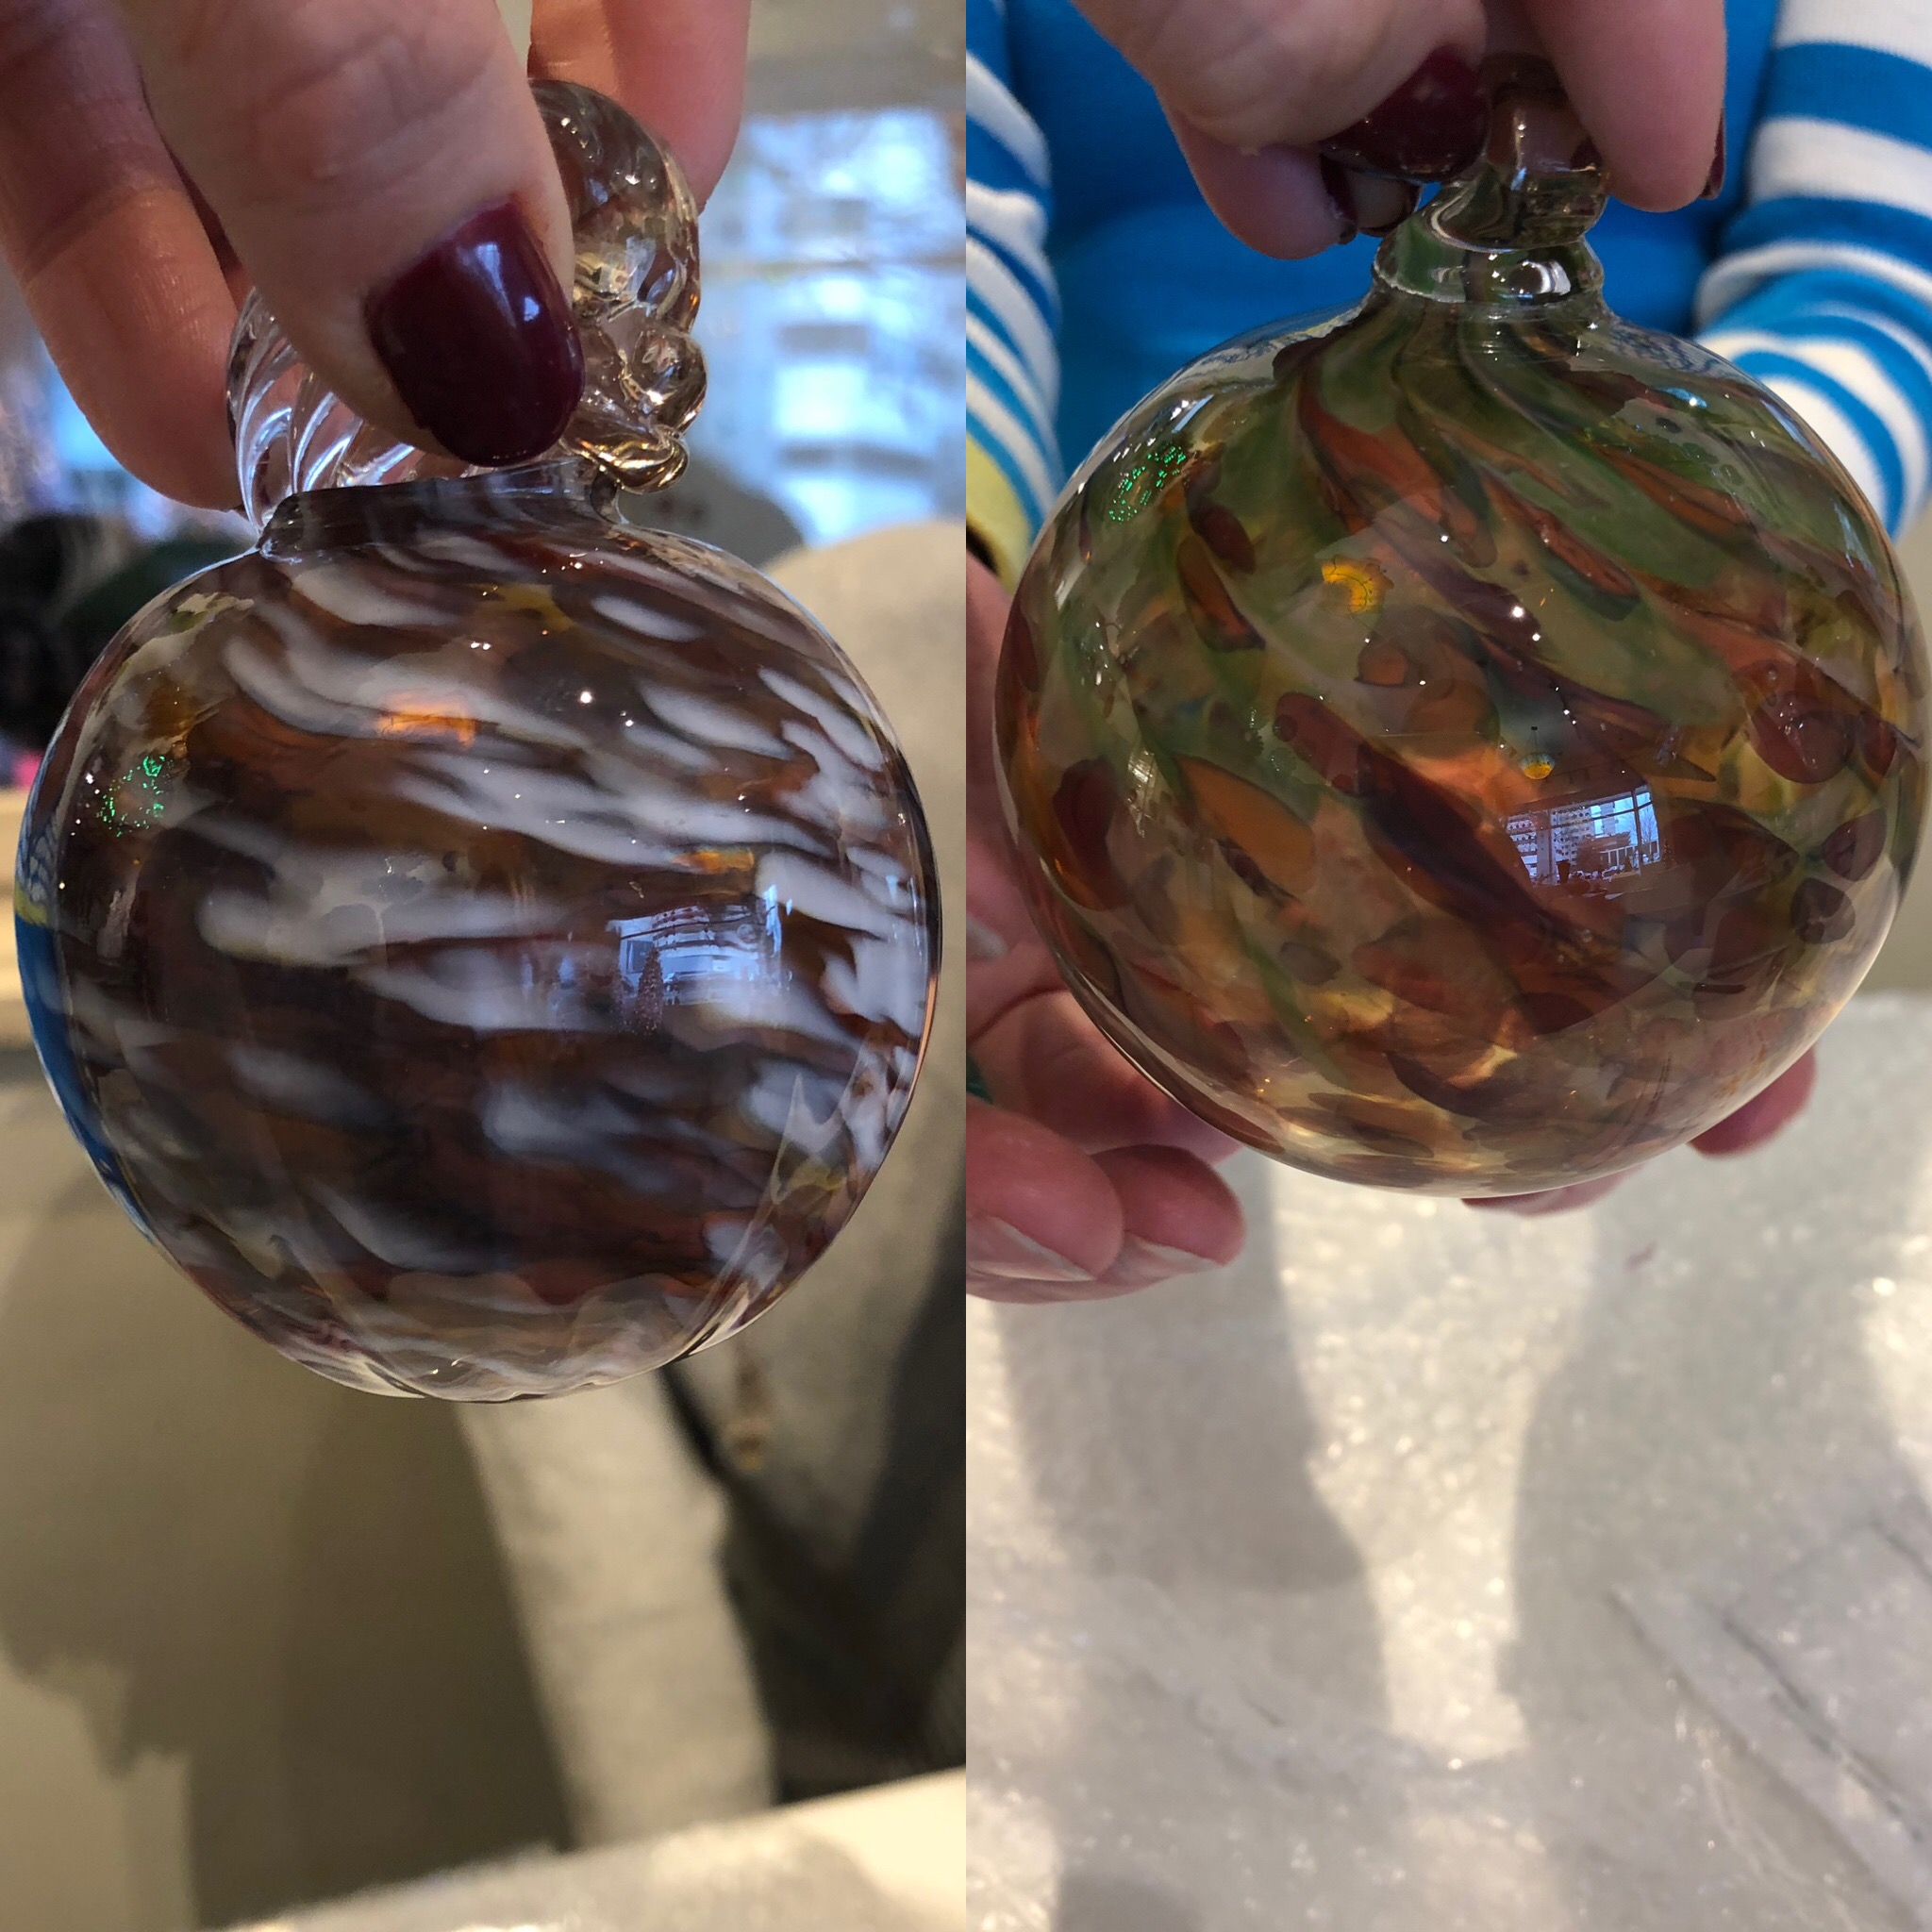
We left our projects to be finished at the studio and picked them up about a week later. It’s so awesome that we made our ornaments for 2018 and they look LEGIT. I highly recommend a class like this, whether it’s a date night, a group of friends, or by yourself. It was such a neat, artistic afternoon.
If you’re in the Seattle area, I’d recommend checking out Seattle Glassblowing Studio. They were professional, friendly and talented!!! I’ve seen them on Groupon as well, so take advantage if you see it. 💕

Leave a comment